Tutorials • Dev
Modifying the DNS zone for a reseller in WHM
Learn how to modify the DNS zone for resellers in WHM. Here you will find the necessary steps to add and manage DNS entries efficiently.
Views 668Updated 2 aniPublished on 16/07/2021by Eduard K.
Introduction
This article presents the editing of the DNS zone in the reseller's WHM
Requirements
Access to the WHM account, username and password.
Steps
- We log in to WHM with the relevant account details.
- We can use DOMAIN/WHM or IP/WHM

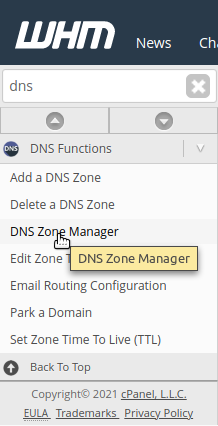
- In the part left we will look for DNS Zone Manager
- Selectăm the domain for which we want to edit the DNS zone
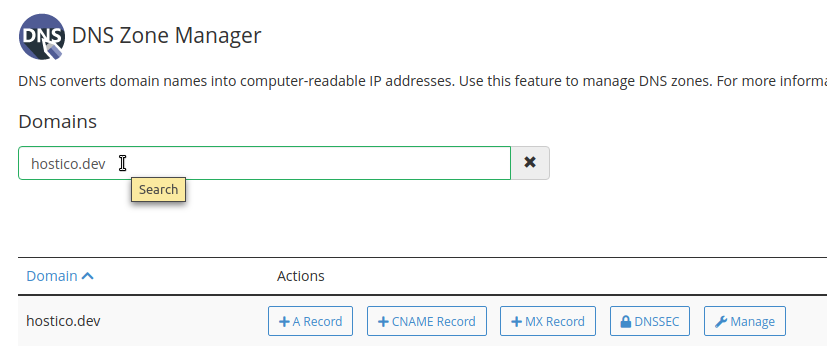
- Here we have the possibility to add the following entries:
1. A record - Where can we add an A-type entry
2.CNAME record -Where we can add a CNAME type entry
3.MX record -Where can we add an MX type entry
4.DNSSEC - Where we can activate and deactivate DNSSEC
5.MANAGE - Where we can see all DNS entries and manually modify any entry.
- To add an entry to the section Manage we will access Add Record from the right side

- From the respective section we can add, delete and modify all DNS zone entries

